
“`html
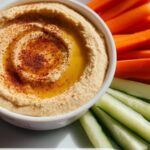
There is something truly special about a dip that delights your taste buds without weighing you down, and that is exactly what you get with Oil Free Hummus: 5 Reasons You’ll Love This Guilt-Free Dip Recipe. This creamy, zesty, and wholesome spread is a celebration of simple ingredients coming together in perfect harmony—chickpeas that provide a velvety base, the nuttiness of tahini, and the bright sparkle of fresh lemon juice. Best of all, it’s entirely free of oil, making it a light yet satisfying option that you can enjoy without a shred of guilt, whether as a snack, appetizer, or part of a nutritious meal.
Ingredients You’ll Need
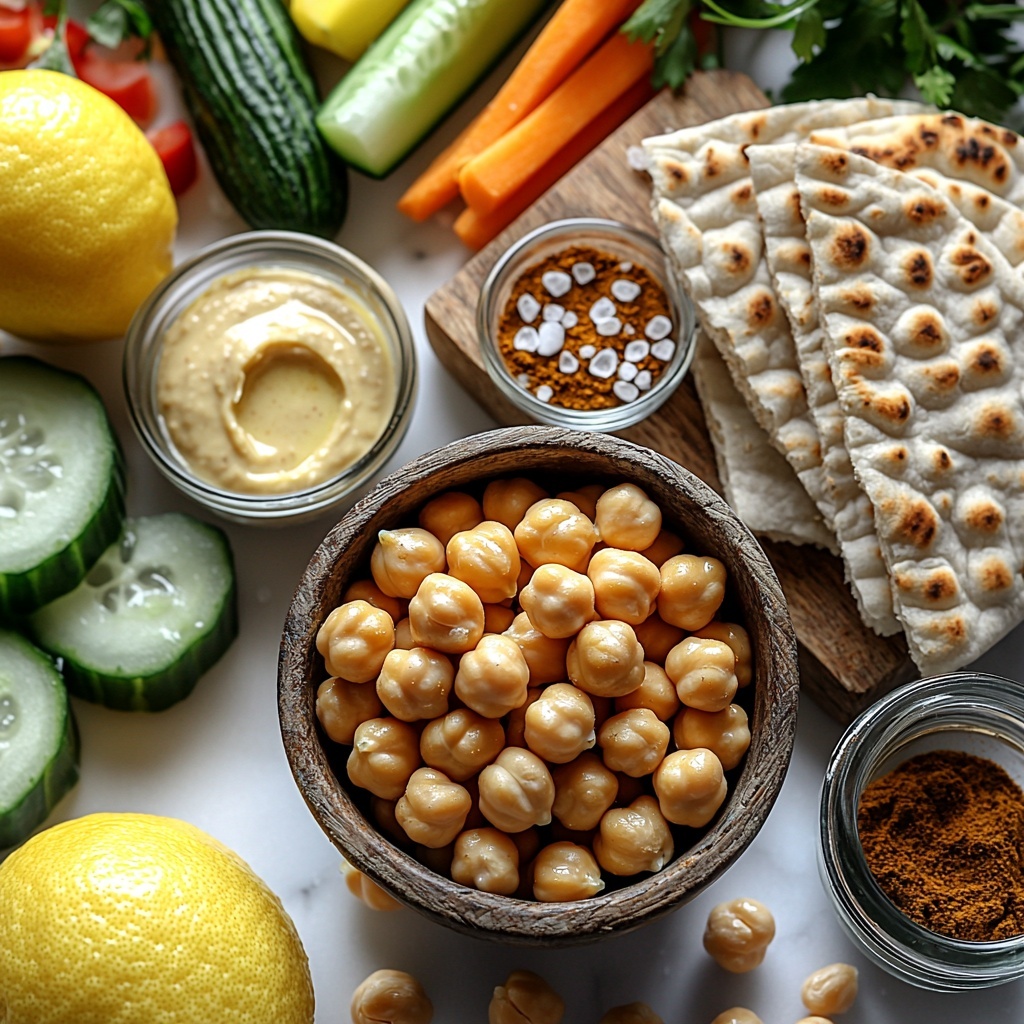
Creating this Oil Free Hummus is wonderfully straightforward thanks to a handful of wholesome, pantry staples. Each ingredient plays a crucial role: from the creamy chickpeas to the fragrant garlic and the warm hint of cumin, everything blends into one irresistible dip.
- 1 can (15 oz) chickpeas, drained and rinsed: The protein-packed foundation of your hummus, delivering the smooth texture you crave.
- 1/4 cup tahini: This rich sesame paste infuses the dip with its signature nutty depth.
- 1/4 cup lemon juice: A fresh hit of citrus that balances the flavors and brightens the whole dish.
- 2 cloves garlic, minced: Adds aromatic pungency and a savory kick without overpowering.
- 1/2 teaspoon cumin: Sprinkles in warmth and earthiness, enhancing complexity.
- Salt to taste: Essential for pulling all the flavors together with just the right seasoning.
- Water as needed for consistency: Allows you to customize the hummus from thick and hearty to smooth and silky.
How to Make Oil Free Hummus: 5 Reasons You’ll Love This Guilt-Free Dip Recipe
Step 1: Combine the Core Ingredients
Start by placing the drained chickpeas, tahini, lemon juice, minced garlic, and cumin into a blender or food processor. This is where the magic begins, as these simple elements prepare to transform into something creamy and utterly delicious.
Step 2: Blend Until Smooth
Give everything a whirl until it reaches a silky, uniform consistency. If you love a bit of texture, pulse less; if you prefer ultra-smooth, blend a little longer. This step is key to achieving that luscious dip everyone adores.
Step 3: Adjust Consistency with Water
Add water slowly, a tablespoon at a time, blending after each addition until your hummus hits your perfect creamy texture. This customization means your dip will be just right for spreading, dipping, or dolloping.
Step 4: Season to Perfection
Now’s the moment to add salt, tasting as you go to ensure your hummus pops with just enough seasoning. Salt isn’t just a finishing touch—it unlocks the full spectrum of flavor here.
Step 5: Ready to Serve
Transfer your creamy concoction to a bowl and get ready to enjoy immediately or chill it for later. The fresh, vibrant flavors of this oil-free recipe truly shine at any time.
How to Serve Oil Free Hummus: 5 Reasons You’ll Love This Guilt-Free Dip Recipe
Garnishes
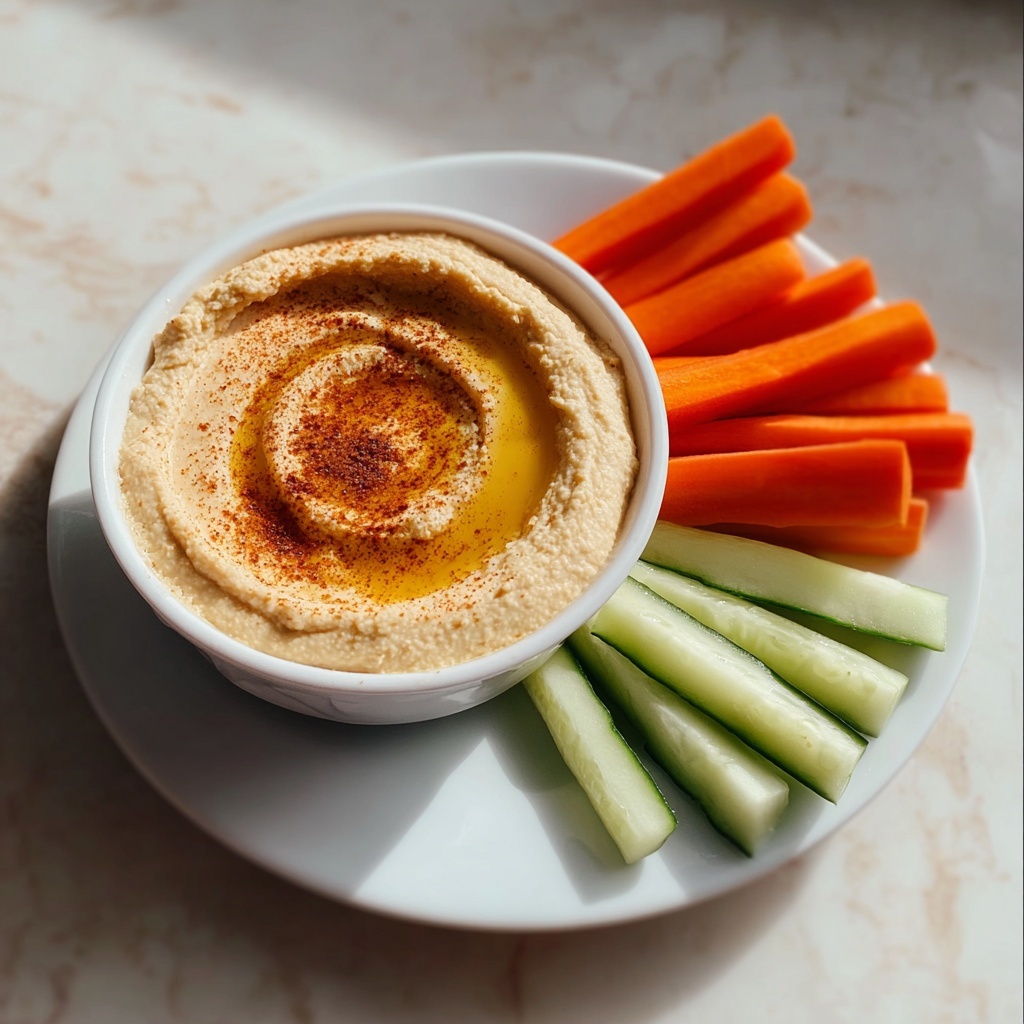
A simple sprinkle of paprika, chopped fresh parsley, or a few whole chickpeas on top can elevate your hummus presentation from everyday to extraordinary. These touches add pops of color and extra aroma that invite everyone to dig in.
Side Dishes
This dip pairs beautifully with crunchy vegetable sticks like carrots, cucumbers, and bell peppers, or soft, warm whole grain pita bread. It’s the perfect way to add protein and plant-based goodness while keeping things light and fresh.
Creative Ways to Present
Transform your Oil Free Hummus into a centerpiece by serving it in a hollowed-out roasted red pepper or atop a bed of mixed greens. Drizzle with a splash of lemon juice or a sprinkle of za’atar spice for extra flair that boosts both the taste and visual appeal.
Make Ahead and Storage
Storing Leftovers
This Oil Free Hummus keeps beautifully in an airtight container in the refrigerator for up to 3-4 days. The flavors actually deepen and meld overnight, making it perfect to prepare in advance for a quick grab-and-go snack or festive gathering.
Freezing
If you want to preserve your homemade hummus longer, it freezes well. Store it in a freezer-safe container for up to 1 month. Just thaw it in the fridge overnight and give it a good stir before serving to restore its creamy texture.
Reheating
Since this dip is best served cold or at room temperature, reheating isn’t usually necessary. If you prefer it warmed, gently heat it in a microwave-safe bowl for 15-20 seconds and stir well. Be careful not to overheat, so you keep that fresh flavor intact.
FAQs
Can I use dried chickpeas instead of canned?
Absolutely! Just soak and cook dried chickpeas until tender before using. This might take a bit longer but enhances freshness and lets you control sodium levels more easily.
Is tahini necessary in the recipe?
Tahini is essential here as it provides the creamy texture and nutty flavor signature to hummus. However, if you need a substitute, you might try sunflower seed butter or omit it, though the taste and texture will be different.
How can I make the hummus spicier?
Add a pinch of cayenne pepper, a dash of smoked paprika, or some chopped jalapeño while blending. These will give your Oil Free Hummus: 5 Reasons You’ll Love This Guilt-Free Dip Recipe a delightful kick without overpowering the other flavors.
Can I prepare this hummus in advance for a party?
Yes! Making it a day ahead allows the flavors to marry beautifully. Just keep it refrigerated and give it a quick stir before serving, perhaps adding a drizzle of fresh lemon juice for brightness.
Is this recipe suitable for a vegan diet?
Definitely! All ingredients are plant-based, so this Oil Free Hummus: 5 Reasons You’ll Love This Guilt-Free Dip Recipe fits perfectly into vegan, vegetarian, and gluten-free diets.
Final Thoughts
Once you experience the delightfully smooth texture and fresh flavor of this Oil Free Hummus: 5 Reasons You’ll Love This Guilt-Free Dip Recipe, it’s hard to go back. It’s a wonderful way to enjoy a creamy, satisfying dip that nourishes your body and comforts your soul. Give it a try, and you may find yourself reaching for this guilt-free dip time and again—because delicious can absolutely be healthy and easy too!
“`
Print
Oil Free Hummus: 5 Reasons You’ll Love This Guilt-Free Dip Recipe
- Prep Time: 10 minutes
- Cook Time: 0 minutes
- Total Time: 10 minutes
- Yield: 2 servings
- Category: Dip
- Method: Blending
- Cuisine: Middle Eastern
- Diet: Vegan
Description
This Oil Free Hummus is a healthy and guilt-free dip perfect for those seeking a flavorful snack without added oils. Made with simple ingredients like chickpeas, tahini, lemon juice, and garlic, it delivers creamy texture and rich taste in just 10 minutes.
Ingredients
Hummus Ingredients
- 1 can (15 oz) chickpeas, drained and rinsed
- 1/4 cup tahini
- 1/4 cup lemon juice
- 2 cloves garlic, minced
- 1/2 teaspoon cumin
- Salt to taste
- Water as needed for consistency
Instructions
- Combine Ingredients: Place the drained and rinsed chickpeas, tahini, lemon juice, minced garlic, and cumin into a blender or food processor.
- Blend Smoothly: Blend the mixture until it becomes thoroughly smooth and creamy, ensuring no large chunks remain.
- Adjust Consistency: Gradually add water, a tablespoon at a time, blending after each addition until your desired hummus texture is reached.
- Season to Taste: Add salt incrementally, blending briefly to mix, then taste to adjust as needed.
- Serve: Transfer your oil-free hummus to a serving bowl and enjoy it with fresh vegetables or whole grain pita bread for a wholesome snack.
Notes
- This hummus can be stored in an airtight container in the refrigerator for up to 5 days.
- If tahini is not available, you can substitute with sunflower seed butter for a similar consistency.
- For extra flavor, consider adding a pinch of smoked paprika or garnishing with chopped parsley.
- Adjust garlic quantity based on your preference for pungency.
- Use cold water or ice cubes to keep the hummus chilled and refreshing.
