
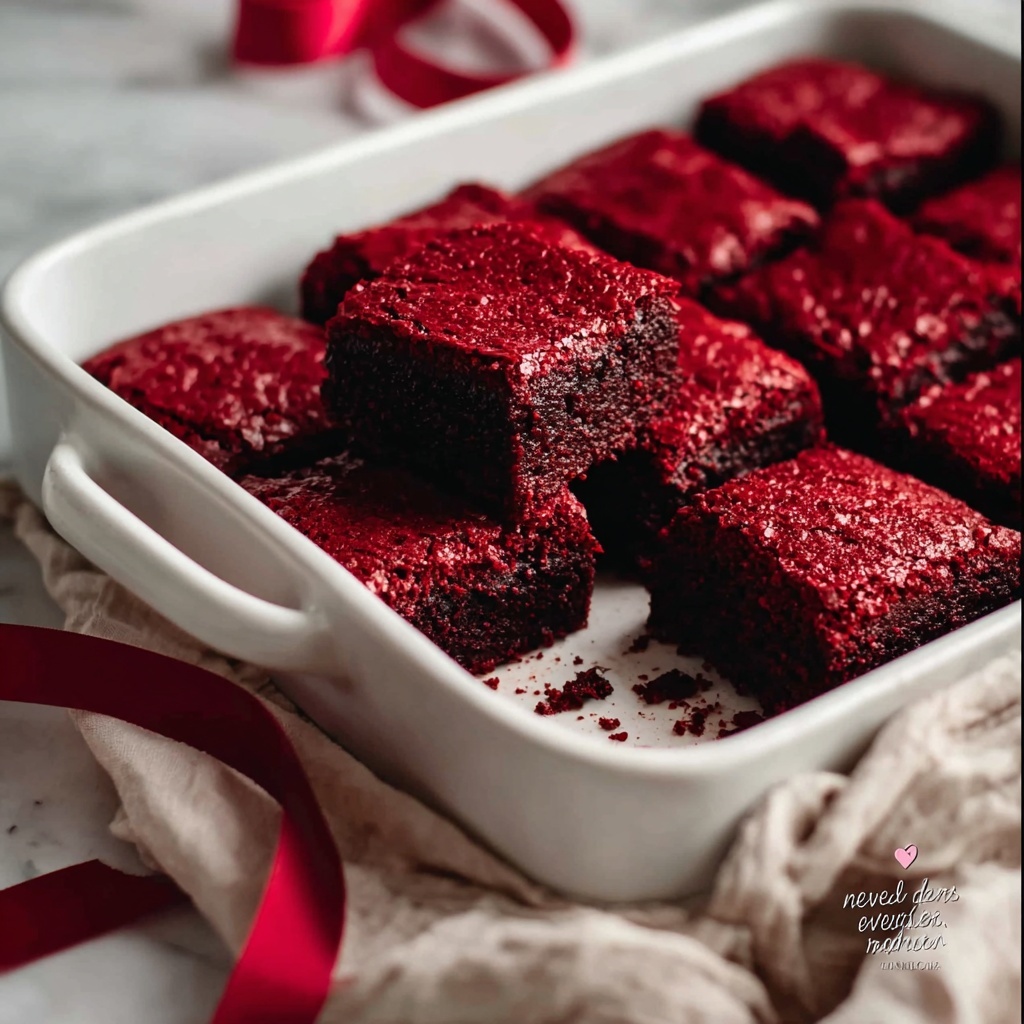
If you have a sweet tooth and happen to follow a gluten-free lifestyle, then you are absolutely going to adore this Easy Gluten Free Red Velvet Brownies Recipe. Imagine the rich, fudgy texture of a brownie paired with the iconic red velvet flavor and stunning color, all without any gluten worries. This recipe turns a classic dessert into a joyous, allergy-friendly treat that is as simple to make as it is to enjoy. Whether you’re sharing with friends or sneaking a few squares just for yourself, these brownies are a real game-changer in the gluten-free dessert world.
Ingredients You’ll Need
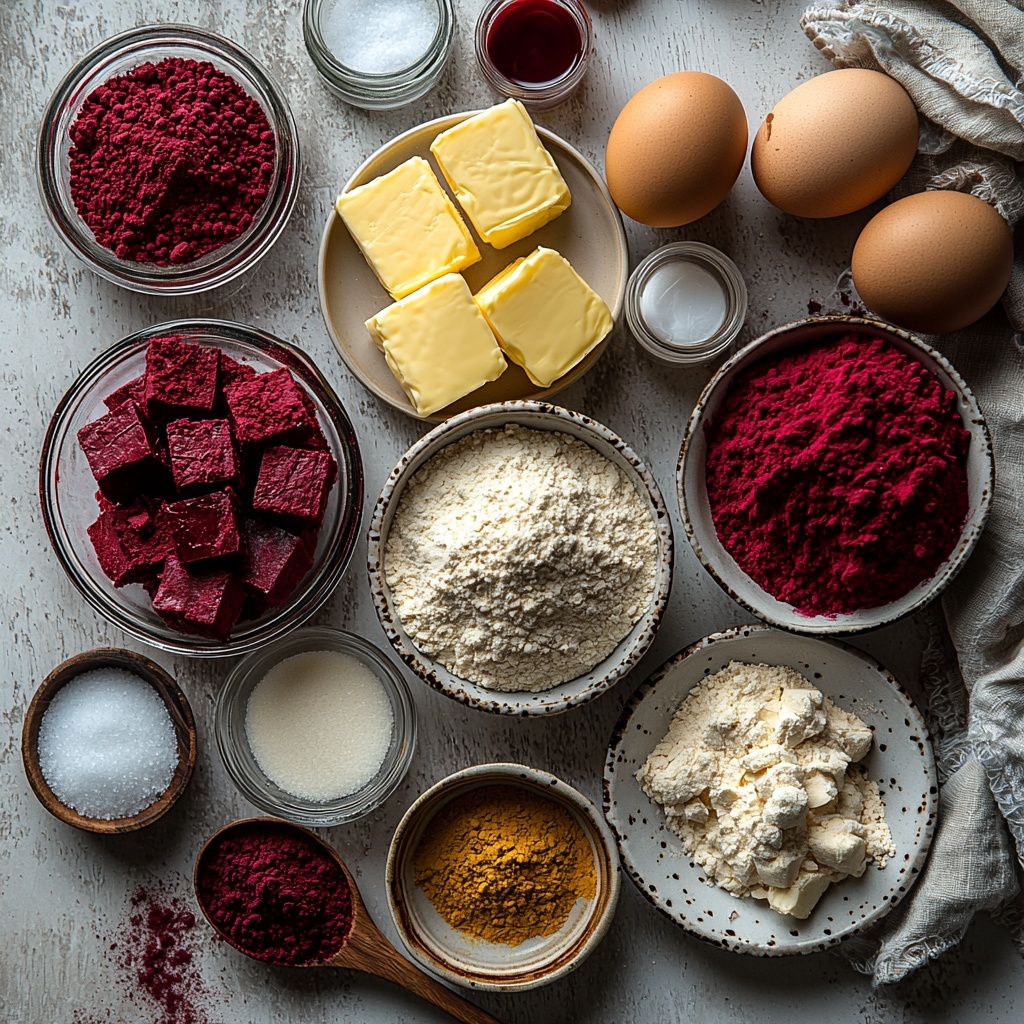
Getting the ingredients right is key to nailing that perfect texture and flavor balance in your Easy Gluten Free Red Velvet Brownies Recipe. Don’t worry though, these ingredients are straightforward and work together beautifully—each one playing an essential role from moisture to taste to that signature red hue.
- 1 cup gluten-free flour: I always use King Arthur Measure for Measure for the best structure and texture in gluten-free baking.
- 1/4 tsp salt: Enhances all the flavors and balances the sweetness perfectly.
- 1/2 tsp baking powder: Gives just enough lift for soft, tender brownies.
- 1/3 cup cocoa powder: This adds that deep chocolate flavor that compliments red velvet so well.
- 1/2 cup butter: Unsalted Kerrygold butter is my top pick for rich flavor and creaminess.
- 2 eggs: Use room temperature eggs (about 70°F) to help with mixing and creating a smooth batter.
- 1 tablespoon vanilla extract: Adds warmth and a lovely aroma that you’ll want in every bite.
- 1/2 cup sugar: For balanced sweetness without overpowering the cocoa notes.
- 3 tbsp water: Helps keep the batter moist and fudgy.
- 3/4 cup brown sugar: Packed firmly to give a deeper, caramel-y sweetness and fudgier texture.
- 1.5 oz red food color: The iconic red that makes red velvet instantly recognizable and festive.
How to Make Easy Gluten Free Red Velvet Brownies Recipe
Step 1: Prepare Your Oven and Pan
Start by preheating your oven to 350°F (175°C). Grease a square baking pan or line it with parchment paper to make sure the brownies come out cleanly and are easy to slice later on.
Step 2: Mix Dry Ingredients
In a medium bowl, whisk together the gluten-free flour, salt, baking powder, and cocoa powder. Combining these first ensures even distribution and helps avoid clumps in your batter.
Step 3: Melt Butter and Combine Sugars
In a saucepan or microwave, melt the butter. Pour it into a large mixing bowl, then stir in the white sugar and firmly packed brown sugar. Mixing while the butter is warm helps the sugars dissolve a little, creating a rich, luscious base.
Step 4: Add Eggs, Water, and Vanilla
Beat the eggs into the butter and sugar mixture one at a time, making sure each is fully combined. Then add the water and vanilla extract, stirring until everything is uniform and smooth.
Step 5: Combine Wet and Dry Ingredients
Gradually fold the dry ingredients into the wet ingredients with a spatula or spoon. Don’t overmix; just combine until you see no flour pockets. This will help keep the brownies tender.
Step 6: Add the Red Food Coloring
Stir in the red food color gently but thoroughly so the color is vibrant and consistent throughout the batter—a signature of this red velvet treat.
Step 7: Bake
Pour the batter into your prepared pan and smooth the top. Bake for about 25 to 30 minutes or until a toothpick inserted into the center comes out with a few moist crumbs. This ensures a fudgy, luscious brownie.
Step 8: Cool and Slice
Allow the brownies to cool completely in the pan to set their texture before slicing. This cooling step is crucial to avoid crumbling and enjoy those perfect squares.
How to Serve Easy Gluten Free Red Velvet Brownies Recipe
Garnishes
Turn your brownies into an eye-catching dessert by sprinkling powdered sugar on top or adding a dollop of whipped cream. A few fresh raspberries or a light dusting of cocoa powder can add a touch of elegance and flavor contrast.
Side Dishes
Serve these brownies alongside a scoop of vanilla or cream cheese ice cream for that classic red velvet and cream experience. A small cup of rich coffee or a chilled glass of milk also pairs beautifully to balance the richness.
Creative Ways to Present
Consider cutting your brownies into bite-sized squares and stacking them tower-style on a decorative plate, or drizzle some cream cheese frosting over the top for extra indulgence. Wrapping individual pieces in parchment paper tied with a ribbon makes for delightful edible gifts.
Make Ahead and Storage
Storing Leftovers
Keep any leftover brownies in an airtight container at room temperature for up to three days, or refrigerate for up to a week to maintain freshness without drying out.
Freezing
You can freeze these brownies by wrapping them tightly in plastic wrap and then placing them in a freezer-safe bag or container. They’ll keep well for up to three months. Thaw them overnight in the fridge before serving.
Reheating
For a freshly baked feel, warm your brownies in the microwave for about 10 to 15 seconds or reheat gently in a 300°F oven for 5 minutes. This brings back their softness and gooey texture.
FAQs
Can I use a different gluten-free flour blend?
Yes, you can substitute with your preferred gluten-free flour blend. Just make sure it contains xanthan gum or a similar binder for best results, so the brownies hold together nicely and have a good texture.
What if I don’t have red food coloring?
You can skip the food coloring if you want, but the distinctive red velvet look won’t be there. Alternatively, natural coloring from beet powder or juice can add a subtle red tint if you prefer a natural option.
Are these brownies dairy-free?
This recipe uses butter, so it’s not dairy-free as is. However, you can substitute with dairy-free margarine or coconut oil to make them dairy-free while maintaining that fudgy texture.
Can I add nuts or chocolate chips?
Absolutely! Adding chopped pecans, walnuts, or mini chocolate chips can enhance both texture and flavor. Just fold them into the batter before baking for a delightful surprise in every bite.
How do I know when the brownies are done?
Check by inserting a toothpick in the center; it should come out with a few moist crumbs but not wet batter. This indicates fudginess without overbaking. Remember that overbaking dries them out!
Final Thoughts
I hope you feel excited to try this Easy Gluten Free Red Velvet Brownies Recipe as much as I love making it. It’s a wonderful, fuss-free way to enjoy red velvet in a gluten-free form without sacrificing taste or texture. Treat yourself or share with loved ones—either way, these brownies are bound to become a favorite in your kitchen!
Print
Easy Gluten Free Red Velvet Brownies Recipe
- Prep Time: 10 minutes
- Cook Time: 25 minutes
- Total Time: 35 minutes
- Yield: 4 servings
- Category: Dessert
- Method: Baking
- Cuisine: American
- Diet: Gluten Free
Description
Delight in these Easy Gluten Free Red Velvet Brownies, combining rich cocoa flavor with a vibrant red hue and a fudgy texture. Perfectly suitable for gluten-sensitive individuals, these brownies offer a deliciously moist and tender bite with a subtle vanilla aroma, ensuring a decadent treat for any occasion.
Ingredients
Dry Ingredients
- 1 cup gluten-free flour (King Arthur Measure for Measure preferred)
- 1/4 tsp salt
- 1/2 tsp baking powder
- 1/3 cup cocoa powder
Wet Ingredients
- 1/2 cup unsalted butter (Kerrygold recommended)
- 2 eggs, room temperature (about 70°F)
- 1 tablespoon vanilla extract
- 3 tablespoons water
- 1.5 oz red food coloring
Sugar
- 1/2 cup sugar
- 3/4 cup brown sugar, packed firmly
Instructions
- Preheat oven and prepare pan: Preheat your oven to 350°F (175°C). Grease or line a baking pan with parchment paper for easy removal of brownies.
- Mix dry ingredients: In a medium bowl, whisk together the gluten-free flour, salt, baking powder, and cocoa powder. Set aside.
- Melt butter: In a small saucepan or microwave, melt the unsalted butter completely. Let it cool slightly before moving on.
- Combine wet ingredients: In a large mixing bowl, beat the eggs with vanilla extract, sugar, brown sugar, and water until well combined and slightly fluffy. Stir in the red food coloring thoroughly until the mixture is vivid and consistent in color.
- Add butter and dry ingredients: Slowly pour the melted butter into the wet mixture, stirring continuously. Gradually fold in the dry ingredients until just combined, avoiding overmixing to maintain a fudgy texture.
- Transfer and bake: Pour the batter evenly into the prepared pan. Bake in the preheated oven for approximately 25 minutes or until a toothpick inserted into the center comes out with moist crumbs but not wet batter.
- Cool and serve: Allow the brownies to cool completely in the pan on a wire rack before cutting into 4 servings. Enjoy as is or with your favorite toppings like cream cheese frosting or whipped cream.
Notes
- Use room temperature eggs for a smoother batter that mixes more evenly.
- Firmly packing the brown sugar enhances the fudgy texture of the brownies.
- If you prefer a less intense red color, reduce the red food coloring amount slightly.
- Ensure not to overbake to keep the brownies moist and fudgy.
- These brownies are naturally gluten free, but always double-check ingredients if cross-contamination is a concern.
