
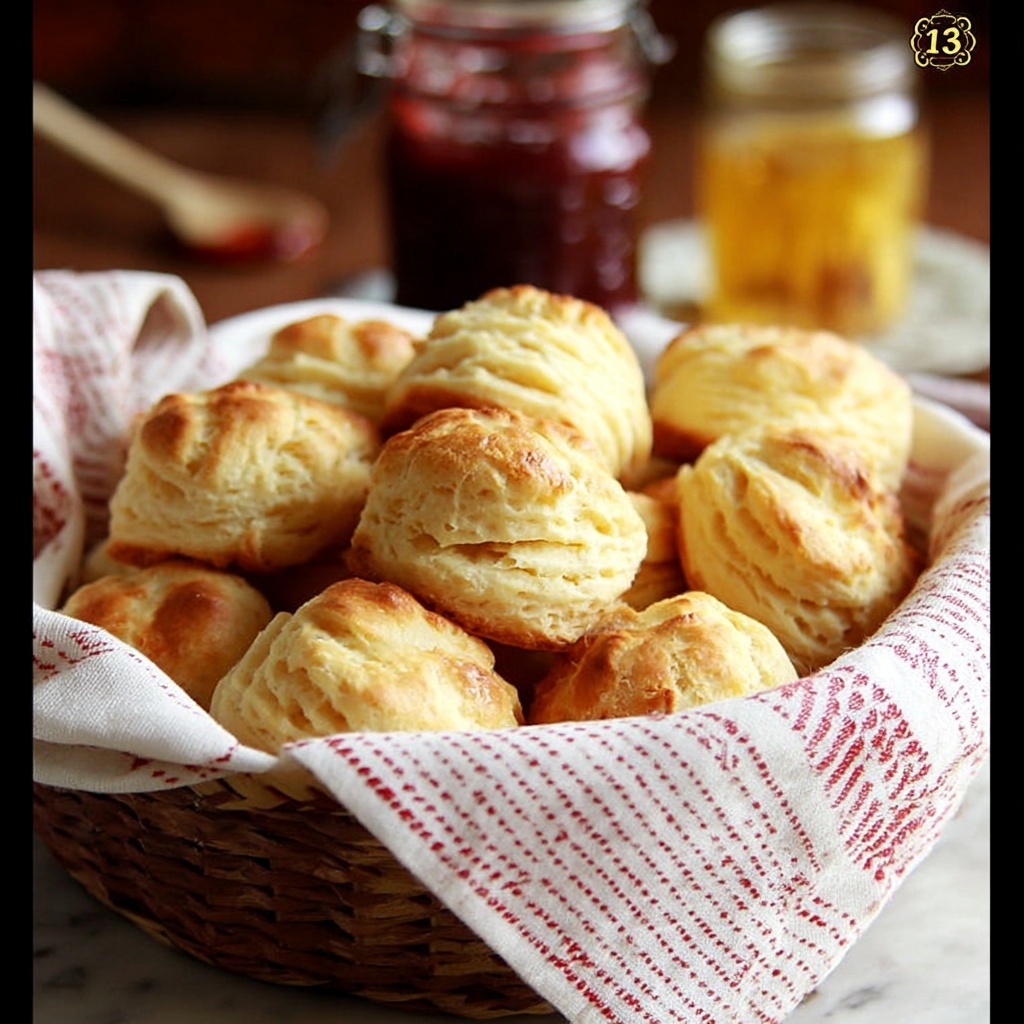
If you’ve ever dreamed of biting into warm, flaky, melt-in-your-mouth biscuits fresh from the oven, then you’re in for a treat with this Easy Buttermilk Biscuits Recipe. There’s something truly magical about how just a handful of simple ingredients come together to create tender layers with a golden crust that’s perfect for breakfast, brunch, or anytime comfort food cravings hit. Whether you’re a biscuit veteran or new to baking, this recipe promises a delicious and foolproof way to make classic Southern-style biscuits right in your own kitchen.
Ingredients You’ll Need
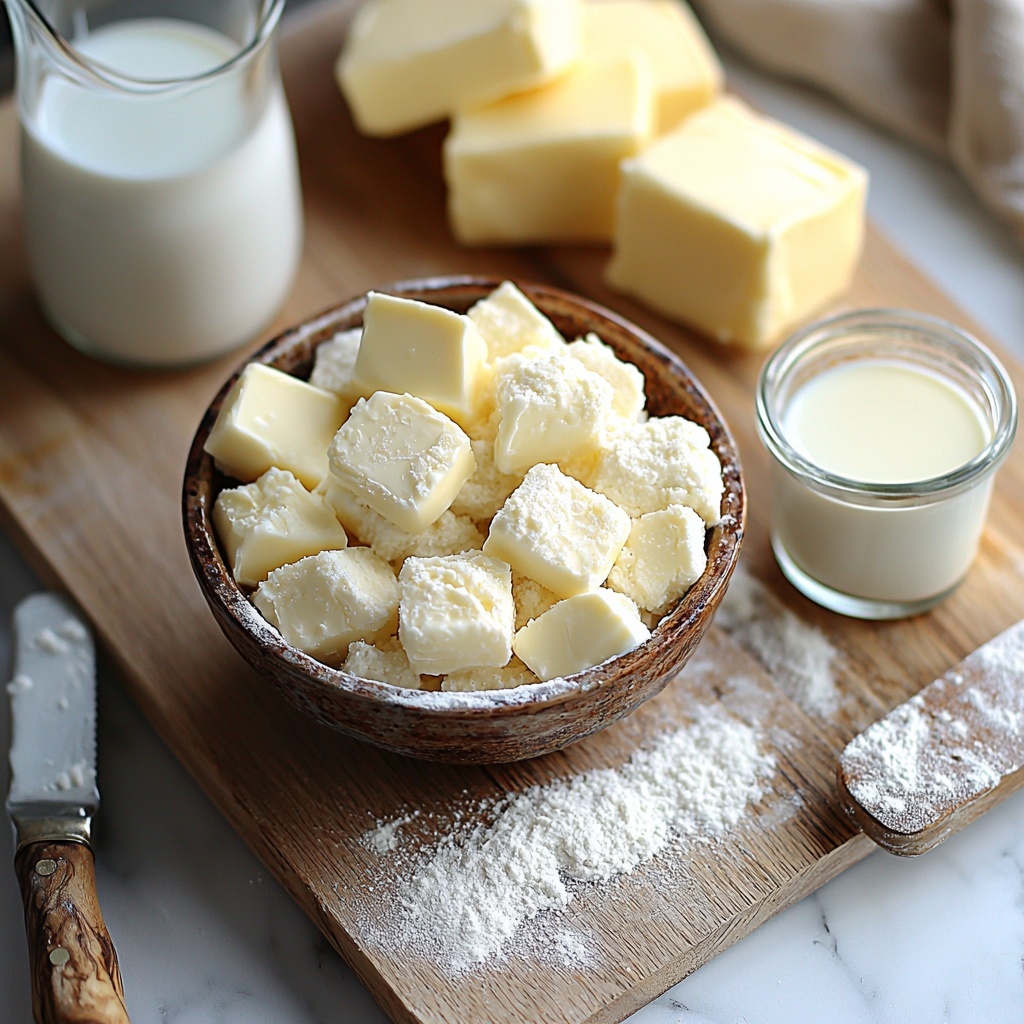
For this Easy Buttermilk Biscuits Recipe, you only need a few basic ingredients that you might already have on hand. Each one plays a key role: the flour provides structure, butter adds richness and flakiness, and tangy buttermilk brings softness and flavor that makes these biscuits unforgettable.
- 2 cups White Lily Self-Rising Flour: This special flour blend gives your biscuits a perfect rise and tender crumb without any extra ingredients.
- 1/2 cup cold unsalted butter: Using cold butter is essential for flaky layers; it creates air pockets as it melts during baking.
- 3/4 cup cultured nonfat buttermilk: The buttermilk adds moisture and that signature tangy flavor that makes biscuits irresistible.
- 2 tablespoons unsalted butter, melted: For brushing the tops, adding a beautifully glossy finish and extra buttery taste.
How to Make Easy Buttermilk Biscuits Recipe
Step 1: Preheat and Prepare
Start by preheating your oven to a high 450°F, and line a baking pan with a silicone mat or parchment paper. This ensures the biscuits bake evenly and don’t stick, giving you that perfect golden base.
Step 2: Measure the Flour Correctly
In a large bowl, spoon the White Lily Self-Rising Flour into your measuring cup and level it off. This technique avoids packing the flour too densely, which can impact the biscuit’s rise and texture.
Step 3: Cut Butter into Flour
Cut the cold unsalted butter into small pea-sized pieces right into the flour. You can use a pastry blender or freeze the butter and grate it directly. This step is crucial because those little butter pockets create the flaky layers everyone dreams about.
Step 4: Add Buttermilk and Mix
Pour in the cultured nonfat buttermilk and gently stir until the dough comes together. It should resemble thick mashed potatoes — moist but not sticky. If it’s too wet, sprinkle in a bit more flour; if it’s too dry, add a splash more buttermilk.
Step 5: Fold and Layer the Dough
Turn your dough onto a floured surface. Knead a few times to bring it together, then roll it out into a rectangle. Fold it into thirds like a letter and repeat this process three times. Doing this tri-fold technique is the secret to those beautifully flaky layers.
Step 6: Cut Out the Biscuits
Roll the dough to about 3/4 to 1 inch thick. Use a floured biscuit cutter with a quick straight down motion — don’t twist or turn it, or you may seal the edges and prevent a good rise. Place the cut biscuits close together on the pan for tender sides, or spaced apart for crispier edges.
Step 7: Bake and Butter
Re-roll the scraps gently to cut out the remaining biscuits, aiming for 10 to 12 in total. Brush each biscuit’s top with the melted butter before popping them in the oven. Bake for roughly 15 minutes until they’re a beautiful golden brown, with a crisp exterior and fluffy inside.
How to Serve Easy Buttermilk Biscuits Recipe
Garnishes
Easy Buttermilk Biscuits are delicious just as they come, but you can enhance them with a little extra flair. Try spreading some homemade honey butter, a dab of fruit preserves, or a sprinkle of flaky sea salt for an added burst of flavor that complements the buttery layers perfectly.
Side Dishes
These biscuits make a wonderful companion to all sorts of dishes. From classic Southern gravy smothered over sausage and biscuits, to a basket alongside scrambled eggs and crispy bacon, they truly shine when paired with rich, savory sides.
Creative Ways to Present
If you want to get fancy, slice these biscuits in half and create mini sandwiches stuffed with fried chicken, ham, or even creamy pimento cheese. They can also be split and used as a base for breakfast sliders or stacked with layers of fresh fruit and whipped cream for a sweet twist.
Make Ahead and Storage
Storing Leftovers
If you have any biscuits left after indulging, store them in an airtight container at room temperature for up to two days. This keeps them soft and ready for a quick snack or a next-day breakfast treat.
Freezing
You can freeze these biscuits either baked or unbaked. Wrap them tightly in plastic wrap and foil, then place them in a freezer bag. They’ll keep nicely for up to 3 months, making it super convenient to enjoy homemade biscuits on demand.
Reheating
To bring your biscuits back to life, warm them in a 350°F oven for about 10 minutes. If they were frozen, allow them to thaw at room temperature first. This reheating method restores their flaky texture and buttery aroma as if freshly baked.
FAQs
Can I substitute all-purpose flour for self-rising flour?
While you can, you’ll need to add leavening agents yourself—typically baking powder and salt—to mimic self-rising flour. Using White Lily Self-Rising Flour makes this Easy Buttermilk Biscuits Recipe simpler and ensures consistent results.
Why is cold butter important in this biscuit recipe?
Cold butter helps create flaky layers as it melts during baking, releasing steam pockets in the dough. If the butter is too warm, it blends into the flour, resulting in less flaky biscuits.
Can I use regular milk instead of buttermilk?
Buttermilk’s acidity reacts with the flour’s leavening, giving the biscuits their tender texture and tangy flavor. If you don’t have buttermilk, you can make a substitute by adding a tablespoon of lemon juice or vinegar to a cup of milk and letting it sit for 5 minutes.
How thick should I roll out the dough before cutting?
About 3/4 to 1 inch thick is ideal. This thickness allows the biscuits to rise nicely and bake through in about 15 minutes without drying out.
Why shouldn’t I twist the biscuit cutter when cutting?
Twisting seals the edges of the dough and inhibits proper rising. Cutting straight down keeps the layers intact, resulting in light, fluffy biscuits.
Final Thoughts
There’s nothing quite like the smell of freshly baked biscuits filling your kitchen, and this Easy Buttermilk Biscuits Recipe is your ticket to that homemade, comforting goodness without any fuss. Whether you’re serving them up for a special brunch or just treating yourself, these biscuits will quickly become your go-to. So grab your apron, gather those simple ingredients, and enjoy the warm, buttery joy that only homemade biscuits can bring.
Print
Easy Buttermilk Biscuits Recipe
- Prep Time: 10 minutes
- Cook Time: 15 minutes
- Total Time: 25 minutes
- Yield: 10-12 biscuits
- Category: Baking
- Method: Baking
- Cuisine: American
Description
These Easy Buttermilk Biscuits are flaky, tender, and golden brown, perfect for breakfast or as a side for any meal. Made with simple ingredients like self-rising flour, cold butter, and cultured buttermilk, these biscuits come together quickly and bake to buttery perfection with soft or crunchy edges depending on how you space them on the pan.
Ingredients
Dry Ingredients
- 2 cups White Lily Self-Rising Flour
Wet Ingredients
- 3/4 cup cultured nonfat buttermilk
- 1/2 cup cold unsalted butter
- 2 tablespoons unsalted butter, melted (for brushing)
Instructions
- Preheat Oven and Prepare Pan: Preheat your oven to 450°F (232°C) and line a baking pan with a silicone baking mat or parchment paper to prevent sticking and ensure even baking.
- Measure Flour: Spoon the self-rising flour into a dry measuring cup and level it off for accuracy, then place it in a large mixing bowl.
- Cut Butter into Flour: Cut the cold unsalted butter into the flour using a pastry blender until butter pieces are pea-sized. Alternatively, freeze the butter, grate it, and stir into the flour until evenly combined. This creates the flaky texture.
- Add Buttermilk: Pour the cultured nonfat buttermilk into the flour mixture and stir gently until just combined. The dough will resemble thick mashed potatoes but should not be overly sticky. Adjust with a little more flour or buttermilk if necessary.
- Knead and Fold Dough: Turn the dough onto a floured surface and knead a few times if needed. Flatten into a rectangle, then fold it into thirds (tri-fold) to develop flaky layers. Repeat dusting with flour and tri-folding about three times total.
- Cut Biscuits: Flatten the dough to about 3/4 to 1 inch thickness. Using a floured 2 to 2 1/2-inch sharp biscuit cutter, cut biscuits with a straight up-and-down motion without twisting. Place biscuits on the prepared pan close together for soft edges or spaced apart for crispier edges.
- Rework Dough: Gather the scraps, re-flatten and cut out additional biscuits, expecting about 10 to 12 total biscuits from the dough.
- Brush with Butter and Bake: Brush the tops of the biscuits with melted unsalted butter to enhance browning and flavor. Bake in the preheated oven for approximately 15 minutes or until golden brown on top.
Notes
- Using White Lily Self-Rising Flour is preferred for the lightest texture due to its lower protein content.
- Keeping the butter cold and cutting it into small pieces ensures flaky layers in the biscuits.
- Do not twist the biscuit cutter when cutting to help the biscuits rise evenly.
- Brushing melted butter on top before baking results in a golden, flavorful crust.
- For crunchier edges, space biscuits further apart on the baking pan.
- Biscuits are best enjoyed fresh but can be stored in an airtight container for up to 2 days or frozen for longer storage.


