Have you ever looked at cookies with fancy lettering and wished you could do that? How do you make perfect lettering for cookies? Making such beautiful designs might seem hard, but it’s achievable with the right tools and techniques. This guide will show you how to create perfect lettering for your cookies. Whether you’re a beginner or looking to refine your skills, you’ll learn easy tips and step-by-step methods to elevate your cookie decorating game. Let’s get started!
Table of Contents
Essential Tools and Materials for Cookie Lettering
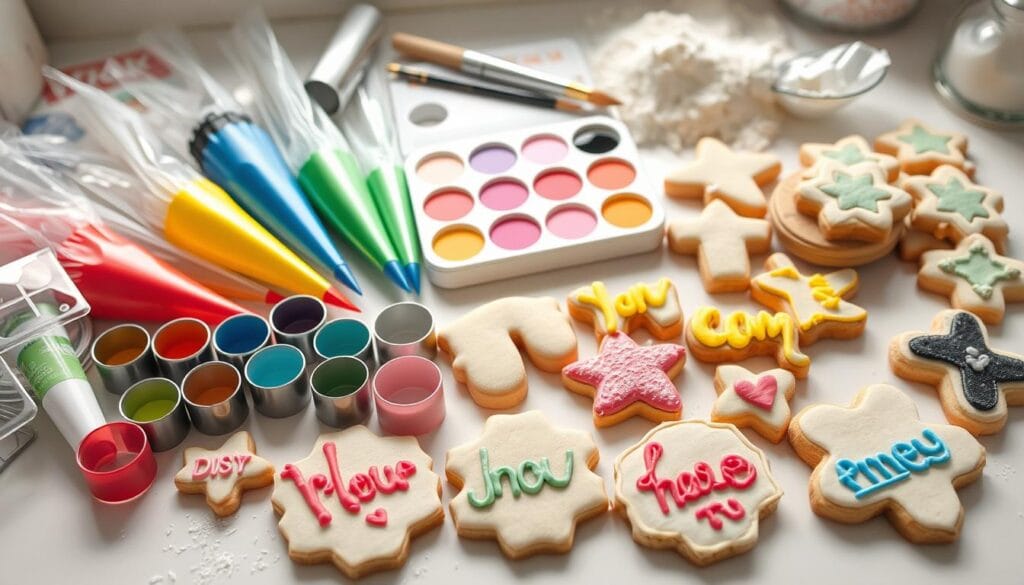
To make professional-looking cookie lettering, you need the right tools and materials. You’ll need piping bags, tips, and royal icing supplies. These are key for precision and stunning designs.
Piping Bags and Tips
Quality piping bags are a must for cookie lettering. Choose disposable or reusable bags for better control. Use different tips like small round, writing, and leaf tips for various styles.
Royal Icing Supplies
Start with the right royal icing consistency for perfect lettering. You’ll need confectioners’ sugar, meringue powder, water, and flavorings. A stand mixer makes mixing easy. Use food coloring to add color to your designs.
Additional Equipment
- Scribe tool: This double-ended tool helps you create crisp lines and smooth curves for professional cookie lettering.
- Projector: For precise designs, consider using a projector to trace patterns onto your cookies.
- Tissue paper: Tracing designs on tissue paper can be a helpful guide for freehand lettering.
- Edible markers: These specialized markers allow you to add fine details and accents to your cookie lettering.
With the right tools and materials, you’ll create stunning cookie designs. Remember, practice and try new things to get better at cookie lettering.
Preparing the Perfect Royal Icing Consistency
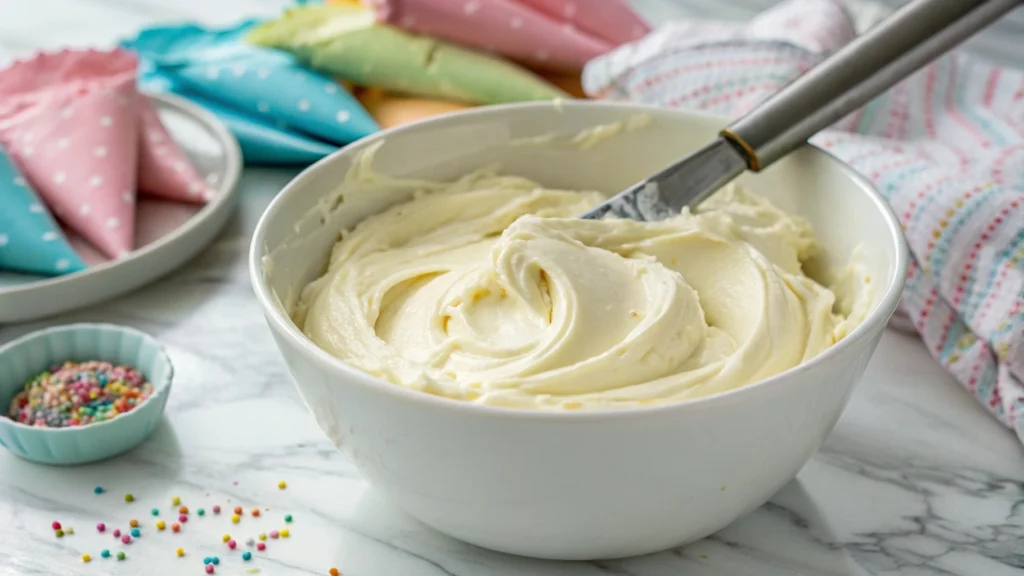
Creating flawless lettering on cookies starts with the right royal icing consistency. The icing’s texture is key for smooth piping and keeping letter shapes. For cookie lettering, aim for a medium consistency that holds a soft peak and doesn’t spread.
To get the perfect consistency, mix your royal icing on the stiffer side first. Then, add small amounts of water slowly, testing the texture each time. The icing should smooth out in 15-20 seconds when dropped back into the bowl. Adjust the consistency by adding more water or stiff icing as needed.
| Royal Icing Consistency | Application |
|---|---|
| Stiff Consistency | Used for piping intricate details, lettering, and 3D decorations |
| Medium Consistency | Ideal for cookie lettering, as it holds its shape but can still be smoothed out |
| Flood Consistency | Used for flooding cookies, wet-on-wet technique, and tiny details |
Keeping the right royal icing consistency is key for stunning cookie lettering. With practice, you’ll master piping perfect letters for your cookie decorating.
How Do You Make Perfect Lettering for Cookies
Mastering cookie lettering can take your decorating to the next level. There are many ways to create beautiful, edible calligraphy on your cookies. Let’s explore the different methods and find the secrets to perfect lettering with food coloring.
Different Lettering Methods
There are three main ways to do cookie lettering: the projector method, tissue paper tracing, and freehand. Each has its own benefits and suits different skills and tastes.
Projector Technique
The projector method gives you precise, professional-looking results. It needs some initial investment in equipment. By projecting the design onto the cookie, you can trace it with edible markers or royal icing. It’s great for those who want accuracy and consistency.
Freehand Approach
The freehand method lets you be more creative and artistic. It needs a steady hand and good eye for proportions. It’s perfect for those who have mastered piping and want to show their unique style.
Consistent practice is crucial, no matter the method. Try different techniques and don’t be afraid to experiment. Find the method that fits your style and skill level best.

Understanding Different Lettering Styles
Starting your cookie decorating journey means learning to letter. There are many styles to try, each with its own charm. You might like the simplicity of decorative cookie fonts or the elegance of cookie design ideas. Knowing these styles will help you make beautiful, personalized cookies.
The simple line technique is great for beginners. It uses steady pressure for a clean look. This style helps you focus on piping control without worrying about line widths.
- Simple line lettering is a great starting point for those new to cookie decorating.
- It involves maintaining a steady pressure while piping, resulting in uniform letter shapes.
- This style is perfect for creating bold, legible text that complements a wide range of cookie designs.
Script writing adds a flowing, elegant touch. By lifting the piping bag, you get a cursive-like effect. This adds sophistication to your cookies.
- Script writing requires a delicate touch and a steady hand to achieve the desired fluidity.
- Varying the pressure and angle of the piping tip can help you mimic the natural strokes of calligraphy.
- This style is well-suited for creating romantic or whimsical cookie designs, particularly when paired with floral or feminine motifs.
Pressure-piped lettering offers a bold look. By changing the pressure, you get letters of different thicknesses. This adds depth and interest to your cookies.
“Experimenting with different lettering styles is the key to finding what works best for your designs and skill level.”
The outline-and-flood technique is great for formal designs. First, you outline the letters, then fill them with icing. This gives crisp edges and a polished look.
Don’t be shy to try different lettering styles. Each style has its own charm. By finding the right style for you, you’ll create decorative cookie fonts and cookie design ideas that impress everyone.
Mastering Basic Piping Techniques
Creating perfect lettering for cookies starts with learning the basics of piping. Whether you’re new or experienced, knowing simple line lettering, script writing, and pressure piping can improve your piping tips for perfect lettering for cookies. It will also enhance your precision cookie piping.
Simple Line Lettering
Simple line lettering is great for beginners. It uses consistent pressure and smooth movements for clean lines. Keeping the pressure even helps you get smooth strokes perfect lettering for cookies.
Script Writing
Script writing adds a flowing, elegant touch to your work. It involves lifting the piping bag between strokes, making your lettering look like handwriting. Getting the right balance of pressure and movement is crucial for beautiful script.
Pressure Piping
Pressure piping adds depth and interest to your designs. By changing the pressure, you can make lines thicker or thinner. This technique takes practice but is worth it for the creative freedom it offers in precision cookie piping.
Practice is key to getting better at these techniques. Start with each one separately, then mix them for different styles. With time and effort, you’ll make lettering that wows everyone.
“The secret to great cookie lettering is all in the piping technique. Mastering the basics will give you the foundation to create truly stunning designs.”
Advanced Lettering Techniques and Designs- Perfect Lettering for Cookies
As a pro cookie decorator, you’re ready for more than just the basics. It’s time to dive into advanced techniques to make your cookies stand out. You can add intricate layers and metallic touches to wow your audience.
Try the combination pressure piping method for dynamic letters. This method uses both light and heavy pressure to create varied strokes. It adds depth and interest to your designs.
Another cool technique is outline-and-flood lettering. First, pipe a clean outline. Then, fill it with thinner royal icing. This gives you crisp lines and a shiny finish.
- Play with different royal icing thicknesses for 3D effects. A thicker layer on top of a thinner one looks amazing.
- Add metallic accents or glitter for a glamorous touch, great for special events.
- Mix lettering with other techniques like brush embroidery or wet-on-wet designs for unique cookies.
With advanced professional cookie decorating and cookie design ideas, the sky’s the limit. Mastering these techniques will make your cookies truly unforgettable.
Common Mistakes and Troubleshooting- Perfect Lettering for Cookies
Decorating cookies with intricate lettering is a fun challenge. But, it comes with its own set of problems. You might face issues like consistency problems or drying challenges. Knowing these common mistakes and how to fix them can help you improve your skills.
Consistency Issues
Getting the royal icing just right is key for clean lines. If it’s too thin, it can spread and ruin your design. If it’s too thick, it’s hard to pipe and might look bad. Here’s how to fix these problems:
- For runny icing, add small amounts of stiff royal icing to thicken it.
- To thin out thick icing, add a few drops of water slowly. Be careful not to add too much.
- Make sure your icing is well mixed and free of air bubbles to keep it consistent.
Piping Problems
Mastering piping is crucial for perfect lettering for for Cookies. But, air bubbles, uneven pressure, or clogged tips can get in the way. Here’s how to solve these issues:
- Tap your piping bag gently to get rid of air bubbles.
- Use a toothpick to pop any air bubbles in the icing as you pipe.
- Apply steady, consistent pressure to get smooth lines.
- Clean your piping tips often to avoid clogs and ensure smooth icing flow.
Drying Challenges
Getting your cookie lettering to dry right is the last step. If it dries unevenly or slowly, it can smudge or bleed. Here’s how to dry it evenly and quickly:
- Use a fan or dehydrator to help air circulate and dry the cookie evenly.
- Stay away from humid places, as they can slow drying and cause color bleeding.
- Give your cookies enough time to dry completely before touching or stacking them.
By fixing these common mistakes and using good troubleshooting, you’ll get better at cookie decorating. Remember, getting better takes practice, patience, and a love for decorating cookies.
Storage and Drying Tips-Perfect Lettering for Cookies
Mastering cookie decorating is about creativity and careful storage and drying. Whether you’re a pro or just starting, these tips will help keep your cookies looking great. They’re essential for maintaining the quality of your professional cookie decorating.
Patience is crucial. Let your decorated cookies dry for 6-8 hours, or even overnight. Use a fan for the first hour to get a smooth, shiny finish on your royal icing.
After drying, store leftover royal icing in airtight containers. Cover the surface with plastic wrap to prevent skin formation. Refrigerate for up to 10 days or freeze for up to 3 months. When you’re ready to use it again, just mix it well to get the right consistency.
| Storage Method | Duration |
|---|---|
| Room Temperature | Up to 1 day |
| Refrigerated | Up to 10 days |
| Frozen | Up to 3 months |
By following these tips, you can keep your decorated cookies looking great for longer. Remember, taking good care of your creations will make them a hit with everyone.
Conclusion
Mastering cookie lettering takes dedication and practice. Start by making the perfect royal icing and learning basic piping. Then, try more complex designs.
Play with different lettering styles and tools to find your best fit. This will help you create unique cookies.
Don’t forget to solve common problems like icing consistency and drying issues. Also, keep your tools in good shape. With these tips, you’ll soon make cookies that look like they were made by a pro.
Whether you’re new to cookie decorating or already skilled, learning to make perfect lettering will improve your cookies. Enjoy the process and let your creativity show in every cookie you make.
FAQ
Royal icing is the top choice for cookie lettering. It’s made from confectioners sugar, water, egg white, and flavorings. Meringue powder is a good substitute for fresh egg whites.
What is the ideal consistency for lettering royal icing?
The best consistency is like soft-serve ice cream, almost melting. Mix it with a paddle attachment on medium-low speed for 5 minutes. This avoids too much air.
You’ll need piping bags, tips, and royal icing ingredients. Also, a stand mixer, scribe tool, and food coloring. Optional tools include a projector, tissue paper, and edible markers.
Aim for a medium consistency that holds a soft peak. Start with stiff icing and add water slowly. Test it by dropping it back into the bowl; it should smooth in 15-20 seconds. Adjust with water or stiff icing as needed.
There are three main methods: projector, tissue paper tracing, and freehand. The projector method is precise but expensive. Tissue paper tracing uses edible markers. Freehand requires practice but is flexible.
There are several styles, including simple line, script, pressure-piped, and outline-and-flood. Simple line is great for beginners. Script writing creates a flowing effect. Pressure-piped and outline-and-flood involve varying thicknesses and filling in letters.
Start with simple line lettering for beginners. Script writing involves lifting the piping bag for a flowing effect. Pressure piping creates varied thicknesses. Practice each technique before combining them.
What are some advanced lettering techniques and designs?
Advanced techniques include combination pressure piping and outline-and-flood lettering. Try layering royal icing for 3D effects. Add metallic accents or glitter for special occasions. Mix lettering with brush embroidery or wet-on-wet designs.
Issues include wrong icing consistency, air bubbles, and uneven drying. For runny icing, add stiff icing. For thick icing, add water slowly. Tap piping bags and use a toothpick to remove air bubbles. Use a fan for even drying and avoid high humidity.
Let cookies dry for 6-8 hours, or overnight. Use a fan for the first hour for a shiny finish. Store leftover icing in airtight containers with plastic wrap on top. Refrigerate for up to 10 days or freeze for 3 months. Remix stored icing to restore consistency.
“If you’re wondering, Why Don’t My Madeleines Have a Bump? Perfect Results, check out our detailed guide to mastering the perfect madeleine shape!”

