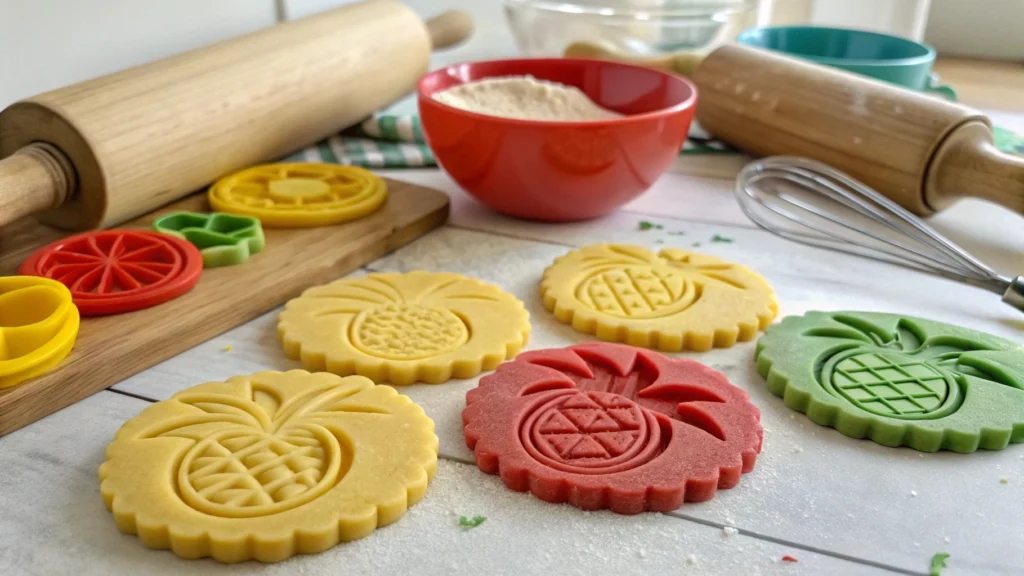
Ever wondered how bakeries make those amazing cookies? It’s all about how do you use cookie stamps and cutters. These tools turn simple dough into beautiful art, allowing you to create cookies that look like they came straight from a professional bakery. Whether you’re a beginner or a seasoned baker, mastering the use of cookie stamps and cutters can elevate your baking game to the next level.
But, where do you begin? This guide will teach you the basics of cookie stamping and cutting. You’ll learn the techniques, tools, and tips to make your cookies stand out.
Table of Contents
Essential Tools and Equipment for Cookie Stamping
Improve your cookie decorating with the right tools. You’ll need versatile cookie stamps and baking essentials. The right supplies help make your cookies look amazing.
Types of Cookie Stamps Available
Cookie stamps are made from metal, wood, and silicone. Each material has its own benefits. Metal stamps give a sharp impression, while wooden ones offer a rustic feel. Silicone stamps are flexible and great for beginners.
Having different designs of stamps lets you get creative.
Necessary Baking Tools
You’ll also need a rolling pin, baking sheets, and cooling racks. A good rolling pin makes your dough even. Strong baking sheets and cooling racks keep your cookies in shape.
Additional Decorating Supplies
For more decoration, get piping bags, couplers, and tips. Food coloring, edible pens, and scribe tools add details and colors. Quality tools lead to better results.
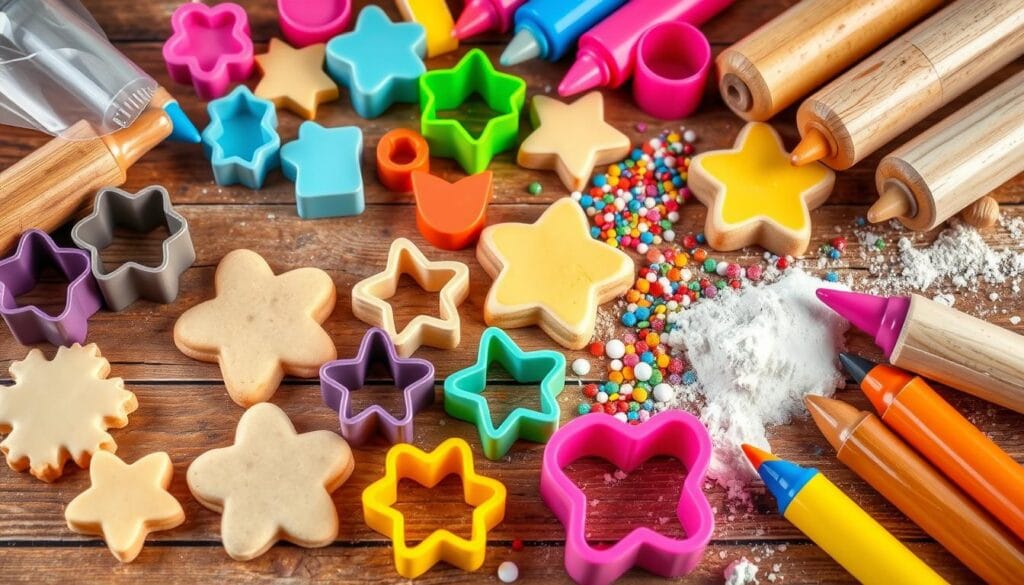
“Elevate your cookie decorating game with the right tools and equipment. From versatile stamps to essential baking essentials, the right supplies can make all the difference in creating beautiful, professional-looking stamped cookies.”
Understanding Different Types of Cookie Stamps
Choosing the right cookie stamp can change your baking game. You can pick from durable metal to detailed wooden designs. Let’s look at the main features and benefits of cookie stamps, cookie embossers, and shaped cookies tools.
Metal cookie stamps from brands like Nordic Ware are super durable. They’re great for simple yet beautiful patterns on your cookies. Their sturdy build means they keep making great impressions, even after lots of use.
Wooden cookie stamps and cutters from makers like Rick McKinney’s family are all about detailed designs. They’re made with food-grade oils, so they last a long time. The wood adds special textures and patterns to your shaped cookies.
For something flexible, try silicone cookie stamps. They’re easy to clean and let dough slide out smoothly. This makes your cookies look crisp and clear. Silicone is perfect for delicate designs because it presses evenly.
“The right cookie stamp can truly elevate your baking, transforming simple dough into visually stunning shaped cookies.”
Choosing the right cookie stamps and cutters depends on what you want to make. Think about the design, texture, and your baking style. Try out different materials and patterns to find your favorite.
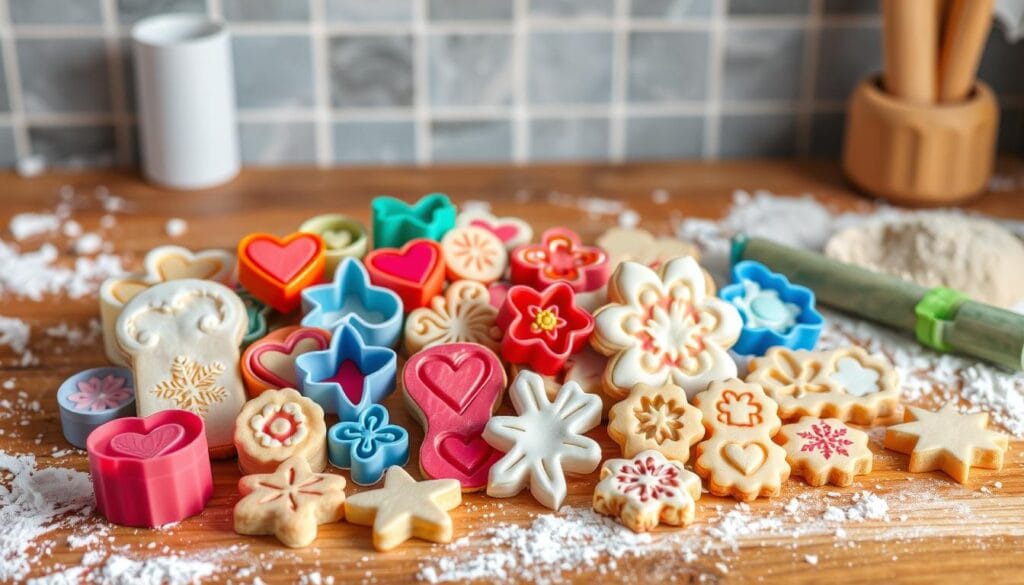
Learning to use cookie stamps and cutters can make your baking better and more personal. Whether you have metal or wooden stamps, the steps are similar. Here’s how to make stamped cookies that will wow everyone.
Basic Stamping Techniques
Begin with metal stamps by rolling dough into balls. Coat these balls with sugar before stamping. This keeps the dough from sticking.
For wooden stamps, roll out the dough evenly. Then, press the stamp into it to get your design.
Proper Pressure Application
Even pressure is crucial for clear imprints. Press hard enough to get the pattern, but not so hard it distorts it. Practice on small dough batches to find the right pressure.
Common Mistakes to Avoid
- Too much flour can blur the patterns.
- Too much pressure can make the dough stick or distort the design.
- Cutting stamped cookies before baking can ruin their edges and details.
Success in cookie stamping comes from patience and practice. Try different doughs, pressures, and techniques to find what works for you.
Choosing the Right Dough Recipe for Stamped Cookies
To make stunning stamped cookies, pick a dough recipe made for this purpose. Go for no-spread shortbread or sugar cookie recipes. These hold their shape well when baked. They have ingredients like butter, sugar, eggs, flour, and cornstarch for a sturdy yet soft texture.
Try adding unique flavors to your dough for extra taste and looks. Vanilla, salted caramel, gingerbread, or red velvet can make your cookies special. This way, you offer a unique treat to your guests.
Stay away from doughs that spread a lot when baked. This can mess up your cookie designs. You want your cookie stamps to stay clear and detailed, even after baking.
| Statistic | Value |
|---|---|
| Number of cookies baked | well over a thousand |
| Number of cookie cutters purchased | not specified |
| Number of cookie shapes cut | about 48 cookies |
| Baking temperature | 350 degrees |
| Chill time for dough | about 45 minutes to an hour |
| Approximate prep time | 35 minutes |
| Approximate cook time | 10 minutes |
| Serving size | 48 cookies |
| Caloric content per serving | 130kcal |
By picking the right dough and understanding cookie cookie press and shaped cookies, your stamped cookies will always look great. They will also taste amazing, pleasing both your eyes and taste buds.
Metal Cookie Cutters vs. Stamps: Key Differences
Creating beautiful cookies is easier with cookie cutter shapes and cookie embossers. These tools are great for different baking needs. They help make your cookies look amazing.
When to Use Each Tool
Metal cookie cutters are perfect for making shapes like stars and hearts. They let you make many types of cookies, from simple to fancy. Cookie stamps, however, are great for adding cool designs right on the cookie.
Material Benefits and Limitations
Metal cookie cutters last a long time but need care to avoid rust. Wooden cookie stamps are charming and create detailed designs. But, they need gentle care to stay in good shape.
Maintenance and Care Tips
- Clean both cookie cutters and stamps right after use to keep them in top shape.
- Wash metal cutters with warm, soapy water and dry them well to stop rust.
- Wipe wooden stamps with a damp cloth, but don’t soak them. Let them dry before storing.
- Keep all cookie tools in a dry spot to protect them from moisture.
Knowing how to care for metal cookie cutters and wooden stamps helps you use them best. This way, you can make cookies that wow everyone.
Preparing Your Workspace for Cookie Stamping
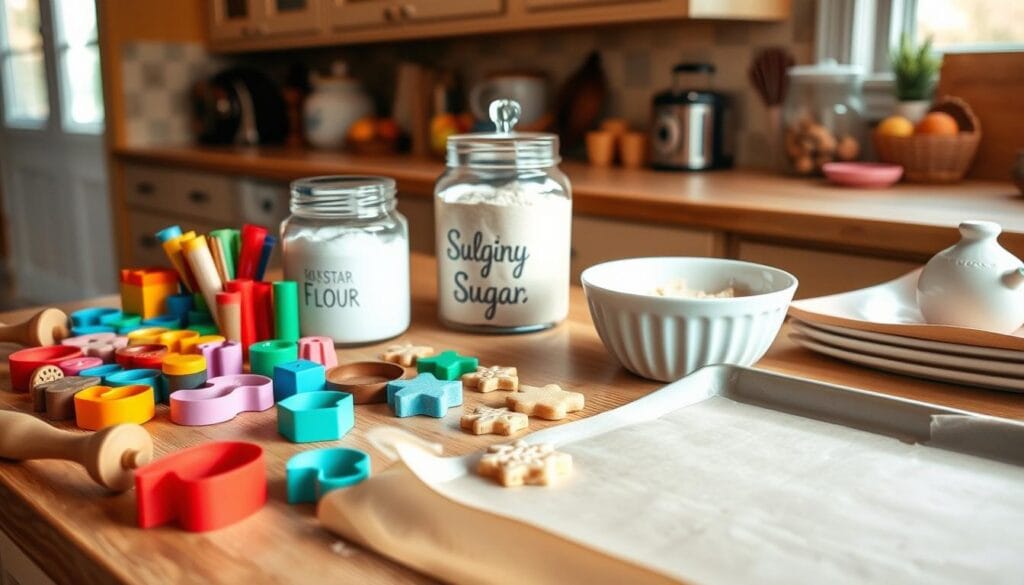
To start making beautifully cookie stamps and cutters, you need a well-organized workspace. Clear a clean, big area to work on. Make sure you have all your baking with cookie cutters and cookie decorating supplies close by.
Keep a slightly damp towel ready to keep your hands and tools clean. Make your cookie dough as the recipe says, keeping it at the perfect temperature for stamping. Also, have a small bowl of flour to dust your stamps and work area when needed.
- Set up a clean, spacious work area.
- Gather all necessary tools and supplies, including a damp towel.
- Prepare the cookie dough at the right temperature for stamping.
- Keep a small bowl of flour nearby for dusting.
- Preheat the oven and prepare baking sheets before starting.
| Essential Workspace Setup | Additional Considerations |
|---|---|
|
|
With your workspace ready, you’re all set to start stamping and decorating your homemade cookies.
Advanced Stamping Techniques and Patterns
Take your cookie-making to the next level with advanced stamping techniques and patterns. Try layering different stamp designs for a unique look. Mix multiple stamps to make complex, eye-catching patterns that will wow your loved ones.
Creating Layered Designs
Layering stamp designs adds depth and dimension to your cookie embossers. Begin with a simple base layer, then add more stamps on top. Use stamps of different sizes and shapes for stunning shaped cookies.
Pattern Combinations
Combining different stamp patterns creates unique cookie designs. Try geometric shapes, botanical motifs, or abstract designs to find your style. Experiment with stamp placement and orientation for amazing patterns on your cookies.
Special Effect Methods
- Dust stamps with cocoa powder for a chocolatey look on your cookies.
- Apply luster dust or metallic food paints for a shiny, metallic finish.
- Make ombre effects by changing colors from light to dark or dark to light on your cookies.
- Use stamped designs with embossed parchment paper for extra texture and interest.
These advanced techniques will elevate your cookie stamping. You’ll create unique and stunning cookie embossers and shaped cookies.
Troubleshooting Common Stamping Issues
Cookie stamping can be tricky at first, but with some effort, you can get great results. A big problem is dough sticking to the stamp. To avoid this, make sure to flour your work area well and dust the stamp lightly before each use. You might also want to spray the stamp with non-stick baking spray for better release.
If your designs aren’t clear, your dough might be too soft—chill it for 30 minutes to firm it up. Finally, apply even pressure when stamping to create crisp, detailed patterns. Practice makes perfect!
- Dough sticking to stamps? Flour surfaces and stamp, or use non-stick spray.
- Unclear impressions? Chill dough and adjust stamping pressure.
- Cookies spreading during baking? Chill dough before stamping or adjust oven temp.
- Designs fading in the oven? Try deeper impressions or chill stamped cookies before baking.
- Experiment with dough thickness to find the optimal depth for your stamp designs.
Another problem is cookies spreading when baking. Chilling the dough or adjusting your oven temperature can help. If your designs fade, try making deeper impressions or chill the cookies before baking.
Remember, the secret to great cookie stamping is to keep trying different things. Experiment with dough thickness to get the best results. With a little practice, you’ll soon be a pro at cookie stamping!
| Stamping Issue | Recommended Solution |
|---|---|
| Dough sticking to stamps | Generously flour surfaces and stamp, or use non-stick spray |
| Unclear impressions | Chill dough and adjust stamping pressure |
| Cookies spreading during baking | Chill dough before stamping or adjust oven temperature |
| Designs fading in the oven | Try deeper impressions or chill stamped cookies before baking |
| Optimal dough thickness | Experiment to find the best depth for your stamp designs |
With a bit of troubleshooting and practice, you’ll be a cookie stamping pro in no time!
Decorating Options for Stamped Cookies
Take your cookie stamping to the next level with various decorating techniques. Start by adding color and shine to your designs. Use food coloring, luster dust, or edible paints to make certain parts pop.
Enhance your stamped cookies with royal icing. Apply it carefully to highlight parts without covering the design. For a special touch, dip the cookies in melted chocolate. This adds flavor and a nice contrast.
Adding Color and Shine
- Incorporate food coloring to add vibrant hues to your stamped designs
- Dust with luster dust for a shimmering, metallic effect
- Experiment with edible paints to create detailed, artistic accents
Complementary Decorating Techniques
- Elevate your stamped cookies with the delicate application of royal icing
- Dip or coat the bottoms of your stamped cookies in melted chocolate for added flavor and visual appeal
- Explore brush embroidery techniques to complement and enhance your stamp designs
Finishing Touches
Give your stamped cookies a final touch with decorations. Try edible glitter, sprinkles, or small embellishments. They add a special touch and make your cookies stand out.
“The secret to decorating stamped cookies is finding the perfect balance between highlighting the intricate design and adding complementary touches to make them shine.”
Storage and Preservation of Cookie Stamps
Keeping your cookie molds and embossers in good shape is key. Here are some tips to help you do just that:
- Clean your stamps well after each use. For wooden ones, use a damp cloth but don’t soak them. This helps avoid warping.
- Put metal stamps in a dry spot to stop rust. Keep silicone ones away from sunlight and heat to prevent damage.
- Arrange your stamps by theme or size for easy finding. Use protective covers for delicate designs to keep them safe.
By following these easy steps, your cookie molds and embossers will stay in great shape. They’ll be ready to make beautiful cookies for many years.
| Tool | Cleaning | Storage |
|---|---|---|
| Wooden Stamps | Wipe with damp cloth, dry immediately | Store in dry place |
| Metal Stamps | Thoroughly clean to remove dough residue | Store in dry place to prevent rusting |
| Silicone Stamps | Clean and dry completely | Keep away from direct sunlight and heat |
Proper care and storage of your cookie molds and embossers ensures they keep making perfect cookie impressions for years.
Seasonal and Special Occasion Stamping Ideas
As a cookie lover, you know baking is more than just a routine. It’s about celebrating the seasons and special moments with shaped cookies and cookie cutter shapes. Imagine making winter snowflakes or spring flowers out of sugar cookies. It’s a fun way to add a touch of the season to your treats.
For holidays, look for stamps that match the festive mood. Snowflakes, Christmas trees, and holly leaves can turn simple cookies into magical treats. Try different colors to match your holiday decor. Or, use letter stamps to make cookies with special messages for gifts.
- Incorporate holiday-themed stamps for seasonal cookies, such as snowflakes for winter or flowers for spring.
- Create personalized stamps for special events like weddings or birthdays.
- Experiment with color combinations that match holiday themes or party décor.
- Combine stamped cookies with traditionally decorated ones for varied gift sets or platters.
- Use letter stamps to create customized message cookies for unique occasions.
But it’s not just for holidays. Use stamps for other big events like weddings, baby showers, and birthdays. You can make shaped cookies and cookie cutter shapes that show off the event’s theme. You can spell out names, use symbols, or make designs that are all your own.
With a bit of creativity and the right tools, you can make your cookies stand out. Cookie stamps and cutters are versatile. They let you create special treats for any occasion. Let your cookies be the highlight of your celebrations.
Conclusion
Learning to use cookie stamps and cutters can make your kitchen more creative. With practice, you can make cookies that wow everyone. Try new techniques, recipes, and designs to find your own style.
Stuffed cookies are great for fun or starting a baking business. Knowing how to use cookie stamps and cutters and having the right cookie decorating supplies can make your cookies stand out. This way, you can share your joy through delicious treats.
Getting better at cookie stamps and cutters is a journey full of chances to grow and show your creativity. Enjoy the process, learn from your mistakes, and let your creativity show in every batch of cookies. The possibilities are endless with these versatile tools.
FAQ
What are the essential tools and equipment needed for Cookie Stamping?
You’ll need different types of stamps, like metal, wooden, and silicone ones. Also, rolling pins, baking sheets, and cooling racks are must-haves. Don’t forget piping bags, bottles, couplers, and food coloring for extra flair.
There are many types of cookie stamps. You can find metal ones, like Nordic Ware, wooden ones from Rick McKinney’s family business, and silicone ones. Each has its own benefits for different cookie looks and textures.
For metal stamps, roll dough into balls, coat in sugar, and press down. Wooden stamps need dough rolled out and stamped with a floured stamp. Use even pressure for clear imprints. Avoid too much flour or pressure to prevent blurry designs.”cookie stamps”
What type of dough works best for Cookie Stamps?
Use dough recipes made for stamped cookies, like no-spread shortbread sugar cookies. These recipes include butter, sugar, eggs, flour, and cornstarch.
Metal cutters are great for making shapes, while stamps add designs to cookies. Cutters are versatile for many cookie styles. Stamps are best for detailed patterns.
Create a clean, spacious area with tools within reach. Keep a damp towel for cleaning. Prepare your dough and have flour for dusting.
What are some advanced stamping techniques and patterns?
Try layering stamps for unique effects or combining them for complex patterns. Use cocoa powder or luster dust for extra shine.
How do you troubleshoot common stamping issues?
If dough sticks to stamps, flour or use non-stick spray. For unclear impressions, adjust dough or pressure. Chill dough to prevent spreading in the oven.
Use food coloring, luster dust, or edible paints to enhance designs. Royal icing can highlight areas without covering the stamp. Dipping in chocolate adds flavor and looks.
Clean stamps well after each use. For wooden stamps, use a damp cloth and dry immediately. Store metal stamps dry to prevent rust. Keep silicone stamps away from sunlight and heat.
“If you’re wondering how do you get the best results from cookie stamps – tips & tricks, check out our detailed guide for expert advice!”

