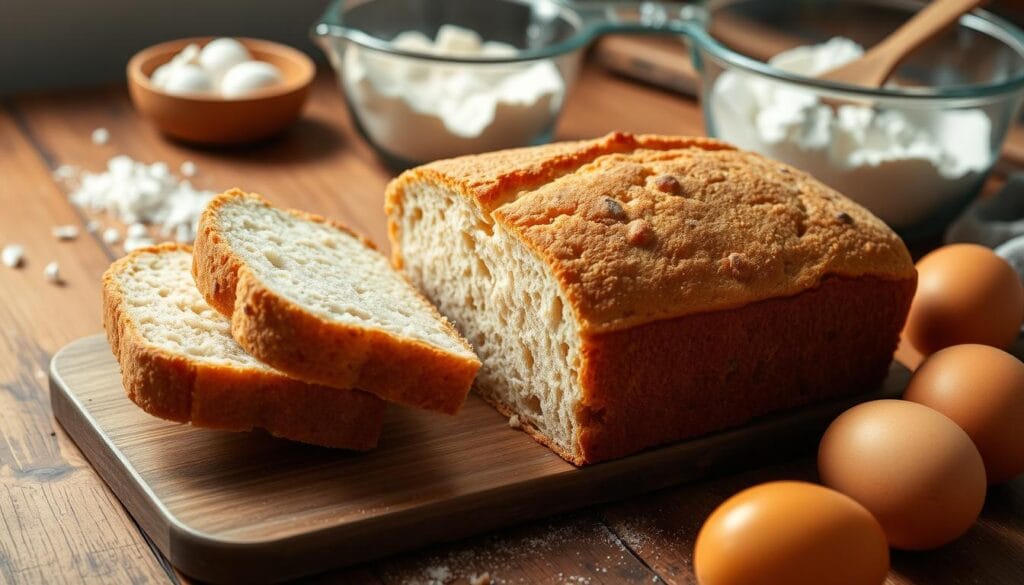
Ever pulled a quick bread out of the oven to find it dense or sunken? If you’ve ever wondered, ‘Why did my quick bread not rise?’ you’re not alone. Quick breads use baking powder and baking soda to rise, but when something goes wrong, it can lead to disappointing results.
Don’t worry, though—by understanding the science behind these ingredients and applying some troubleshooting tips, you’ll soon be baking perfect quick breads every time.
Table of Contents
Understanding Quick Breads and Chemical Leavening
Quick breads, like muffins and banana bread, are different from yeast-leavened breads. They use chemical leaveners, not yeast, for their rise and texture. Baking powder and baking soda are key ingredients that create the bubbles that make quick breads light and fluffy.
The Science Behind Baking Powder and Baking Soda
Baking powder and baking soda serve as chemical leaveners, each with distinct roles. While baking soda requires acidic ingredients to react and generate gas, baking powder contains both alkaline and acidic components, simplifying its use.
How Chemical Leaveners Work in Quick Breads
When wet and dry ingredients mix, the leaveners start to work. They create gas bubbles that make the batter rise. Heat from baking helps set the bread’s structure and keeps its texture.
Different Types of Quick Breads
- Muffins
- Banana bread
- Cornbread
- Biscuits
- Scones
- Loaf breads (such as zucchini or pumpkin bread)
Each quick bread has its own taste and way of making. But they all use chemical leavening for their rise and texture.

“The key to successful quick breads is understanding the science behind the chemical leaveners and how they interact with the other ingredients in the recipe.”
Learning about chemical leavening helps bakers make quick breads that always turn out great.
Why Did My Quick Bread Not Rise?
Baking the perfect quick bread is a delicate task. Sometimes, it doesn’t turn out as we hope. If your quick bread didn’t rise, don’t worry. There are common reasons for this, and knowing them can help you do better next time.“Quick bread not rise”
Expired or ineffective leavening agents like baking powder or baking soda can be the main problem. These agents create air pockets that make the dough rise and become light and fluffy. If they’re old or not working right, the bread won’t rise well.
Another issue is overmixing the batter. It’s good to mix the ingredients well, but too much mixing can make the dough tough and dense. Follow your recipe’s mixing instructions carefully and avoid stirring too much.
The oven temperature is also key for a good rise. If the oven isn’t at the right temperature or if it changes during baking, the bread might not cook evenly. This can make the bread flat or undercooked.
Lastly, improper ingredient ratios can also cause problems. Quick bread recipes need precise measurements. Even a small mistake in the amounts of flour, leavening agents, or liquids can affect the bread’s rise.
To fix these issues, check your baking powder and baking soda, follow mixing instructions, preheat your oven correctly, and measure ingredients carefully. With practice and attention to these details, you’ll make fluffy, well-risen quick breads every time.“Quick bread not rise”
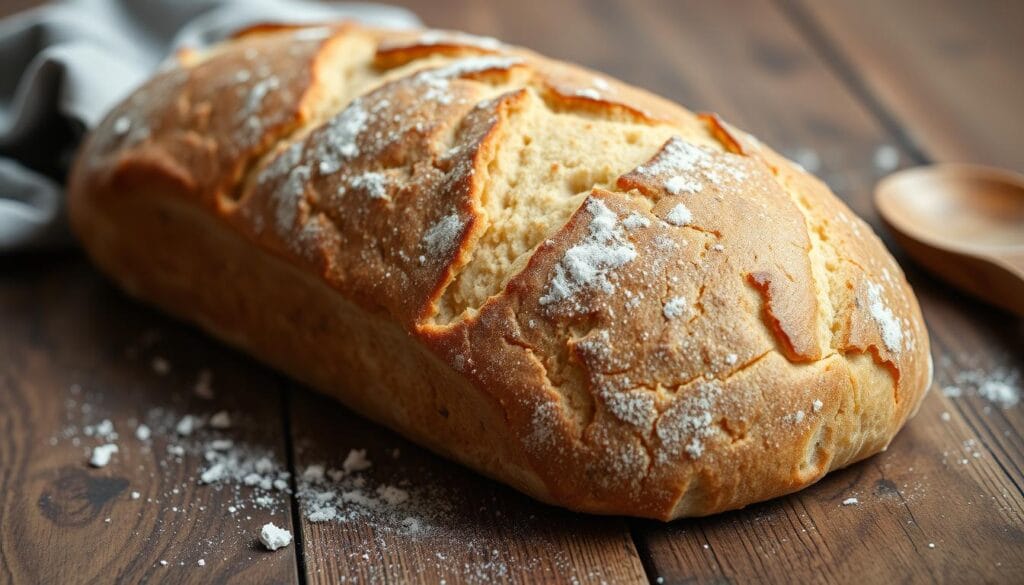
Essential Ingredients for Perfect Quick Breads
Making delicious quick breads needs knowing the key ingredients and their roles. From flour measurement to leavening agents freshness, every detail is important. They all help get the perfect rise and texture.
Role of Flour and Proper Measuring
All-purpose flour is the base for most quick breads, giving structure and the right crumb. But, measuring flour correctly is key. Too much flour makes the bread dense, while too little makes it crumbly. Always measure flour carefully, using the spoon and level method, to get it just right.
Importance of Fresh Leavening Agents
Baking powder and baking soda are key for quick bread rise. They must be fresh and not past their expiration date. Old or stored wrong, they can make your bread not rise or fall flat. Always check the dates and keep these ingredients in a cool, dry place.
Wet Ingredients and Their Functions
Wet ingredients like eggs, milk, and fats are vital for quick bread’s texture and moisture. Eggs give structure, milk adds richness, and fats keep it moist. Make sure these are at room temperature before mixing for the best results.
| Ingredient | Function |
|---|---|
| All-purpose Flour | Provides structure and crumb |
| Baking Powder and Baking Soda | Leavening agents for rise |
| Eggs | Contributes to structure and tenderness |
| Milk | Adds richness and moisture |
| Oil or Melted Butter | Keeps the crumb moist and tender |
Knowing the essential ingredients for quick bread not rise and their roles helps you make perfectly risen, light, and tasty baked goods every time.
Common Mixing Mistakes to Avoid
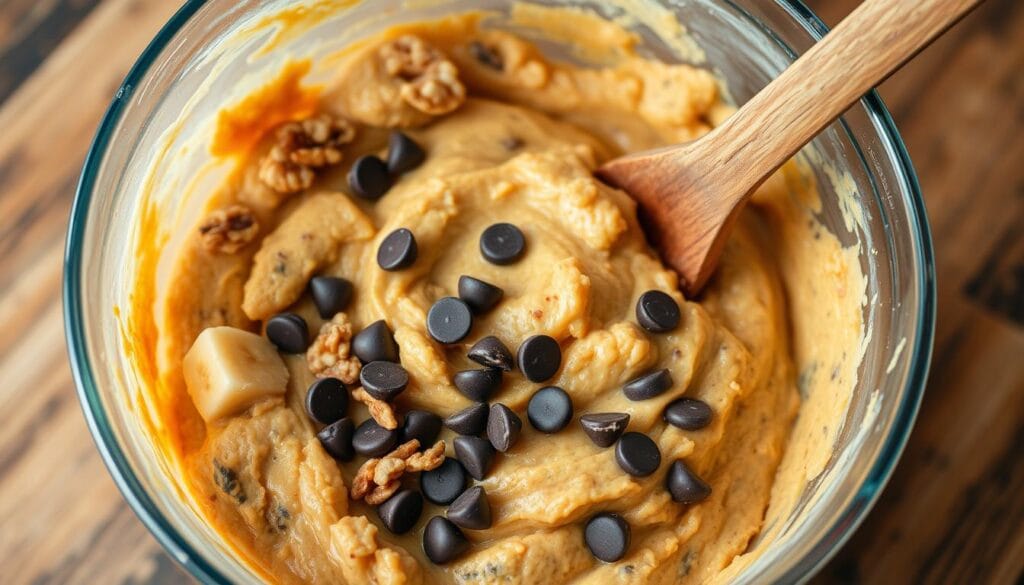
Making delicious quick breads is an art. Mastering the mixing technique is key to getting it just right. Overmixing can make the bread tough and dense. It’s important to mix just until the ingredients are combined, leaving some lumps.
When adding fruits, nuts, or chocolate chips, mix them in gently. Aggressive stirring can make the bread tough. Use a light touch for a tender, fluffy crumb.
Good mixing isn’t just about technique. It’s also about timing. Overworking the batter can weaken the leavening agents. This can result in a dense, heavy quick bread.
“Mastering the art of mixing is the foundation for creating light, airy quick breads that rise to perfection. Patience and a gentle touch are the secrets to unlocking the true potential of your batter.”
Avoiding overmixing is crucial for your quick bread batter. Simple changes in your mixing techniques can greatly improve your bread. You’ll get a tender, flavorful quick bread that everyone will love.
Temperature and Timing Considerations-Quick Bread not Rise
Getting the perfect rise and texture in quick bread not rise depends on temperature and timing. The baking temperature is key for even baking and the right doneness.
Use an oven thermometer to check your oven’s temperature. It should be between 350°F and 425°F. This ensures your quick bread rises well and has the right texture. Also, follow the quick bread baking time guidelines, which vary by recipe and oven.
Proper Oven Temperature Settings
The best baking temperature for quick bread not rise is 350°F to 425°F. This range helps the bread rise and set, making it light and fluffy. Always use an oven thermometer to confirm your oven’s temperature.
Baking Time Guidelines
Baking times for quick breads range from 30 minutes to over an hour. Most are done when they hit 200°F internally. Use a digital food thermometer to check, adjusting the baking time as needed.
Storage Temperature Effects
The storage temperature affects your quick bread’s quality and shelf life. Cool quick breads should be stored at room temperature, 65°F to 75°F. Don’t refrigerate them, as cold can dry out the bread and change its texture.
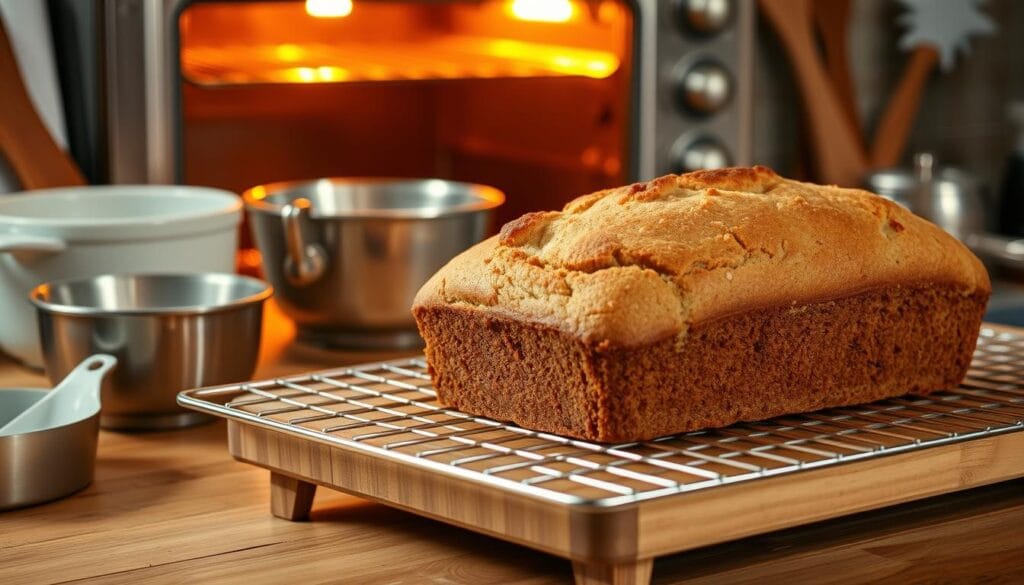
Understanding temperature and timing ensures your quick breads are perfect every time. They’ll have the right rise, texture, and freshness.
Proper Pan Preparation and Selection-Quick Bread not Rise
Getting your baking pan ready is key for perfect quick breads. Before adding the batter, grease the pan with oil or melted butter. This step prevents the bread from sticking and makes it easier to take out after baking.
You can also line the pan with parchment paper. Leave some extra on the sides for easy handling. Silicone mats are another good choice, offering a non-stick surface without greasing.
The pan’s color and size matter too. Darker pans can make the crust brown faster, while lighter ones bake more evenly. Larger pans need longer to bake. Always check the recipe for the best pan size.
After baking, let the quick bread cool in the pan for 10-15 minutes. This helps it keep its shape and prevents crumbling. With the right pan and preparation, you’ll enjoy perfectly baked quick breads every time.
| Tip | Benefit |
|---|---|
| Grease pans with cooking oil or butter | Prevents sticking and makes removal easier |
| Use parchment paper or silicone mats | Provides a non-stick surface without greasing |
| Select the right pan size for the recipe | Ensures proper baking time and texture |
| Allow bread to cool in the pan for 10-15 minutes | Helps the bread retain its shape and prevent crumbling |
Texture Troubleshooting Guide-Quick Bread not Rise
Getting the right texture is key for great quick breads. You might face issues like a dense loaf or a crumbly, dry crumb. Knowing the common problems and how to solve them can help you make moist and tender quick breads. Let’s look at the most common texture issues and how to fix them.
Dealing with Dense or Heavy Bread
A dense, heavy quick bread often comes from overmixing the batter or too much liquid. Overworking the flour can make the bread tight and compact. To fix this, mix the batter just until the ingredients are combined. Be careful not to overmix. Also, make sure the wet and dry ingredients are in the right ratio.
Fixing Crumbly Texture Issues
A crumbly, dry quick bread might be caused by too much fat or leavening agent. Too much fat can stop gluten from forming, making the bread fragile. Too much baking powder or baking soda can also make the bread rise too fast, leading to a coarse texture. Adjust the fat and leavening agents to get a tender, cohesive quick bread not rise.
Addressing Soggy Centers
A soggy, underbaked center in your quick bread could be from not baking it long enough or too much liquid. Make sure you’re baking at the right temperature and for the right time. Also, check your liquid measurements to avoid a dense, soggy interior.
Understanding quick bread baking and common texture issues can help you make moist, tender, and delicious quick breads every time.
Testing for Doneness and Cooling Methods-Quick Bread not Rise
Baking perfect quick breads means knowing when to take them out of the oven. To check if your quick bread is done, insert a toothpick or wooden skewer into the center. If it comes out clean or with a few crumbs, it’s ready.
For a more accurate check, use a quick-read thermometer. Most quick breads are done when they hit 200°F inside. After confirming it’s fully baked, start the cooling process.
- Let the quick bread cool in the pan for 10-15 minutes before moving it to a wire rack.
- Cooling in the pan helps keep the shape and prevents the crust from getting too hard.
- Once on the wire rack, let it cool completely before slicing and serving.
Proper cooling quick bread techniques are key for the perfect texture. By following these steps, you’ll enjoy your homemade quick breads at their best.
“The toothpick test is a reliable way to check if your quick bread is fully baked and ready to come out of the oven.”
Storage and Shelf Life Best Practices-Quick Bread not Rise
Keeping your homemade quick breads fresh is key. Here are some tips to help your baked goods stay tasty for longer:
Proper Cooling and Wrapping Techniques-Quick Bread not Rise
Let your quick bread cool down completely before storing. This stops moisture from making it soggy. Wrap it tightly in plastic wrap or an airtight container to keep it moist.
Freezing and Thawing Guidelines-Quick Bread not Rise
Freeze your quick bread for up to 3 months. Wrap it in plastic or foil, then put it in a freezer-safe bag. To thaw, let it sit at room temperature or in the fridge.
Quick breads stay fresh for a few days at room temperature. But for the best taste, eat them within 2-3 days. Refrigeration can make them stale faster, so it’s not the best choice.
| Storage Method | Shelf Life |
|---|---|
| Room Temperature | 2-3 days |
| Refrigerator | Not recommended |
| Freezer | Up to 3 months |
By using these storage tips, your quick breads will stay fresh and delicious for longer. This way, you can avoid them becoming stale or moldy.
Conclusion
Mastering quick bread baking is easy. You just need to know the science behind it. Pay attention to ingredients and follow the right mixing and baking steps.
Whether your bread is too dense or crumbly, or if it doesn’t rise right, this article has got you covered. It gives you the tools to solve any quick bread not rise problem. With these tips, you’ll make loaves that are not only tasty but also beautifully made.
So, get ready to show off your baking skills. With these quick bread not rise tips, you’re just a batch away from the perfect slice. Start baking and enjoy the praise from your loved ones.
FAQ
Why is my quick bread not rising?
Your quick bread might not be rising due to expired or ineffective leavening agents, overmixing the batter, incorrect ingredient ratios, or improper oven temperature. Ensure your baking powder or soda is fresh, mix gently, and preheat the oven to the correct temperature.
Why is my quick bread flat?
A flat quick bread can result from overmixing the batter, which can cause the leavening agents to lose their effectiveness. Also, incorrect ingredient measurements or an underheated oven could contribute. Follow the recipe’s instructions carefully and avoid overworking the batter.
What causes bread to not rise?
Several factors can cause bread not to rise, including expired or insufficient leavening agents, incorrect ingredient ratios, overmixing, or low oven temperatures. Ensure proper ingredient measurements, check the freshness of your leavening agents, and bake at the correct temperature.
What enables quick bread to rise?
Quick bread rises due to the action of chemical leaveners like baking soda and baking powder. These ingredients create gas bubbles when mixed with moisture, causing the batter to rise and form a light, airy texture.
How to fix bread that didn’t rise?
If your quick bread didn’t rise, check your leavening agents for freshness, avoid overmixing, and ensure you’re following the recipe’s mixing and baking guidelines. If the oven temperature is incorrect, preheat properly and bake at the recommended temperature.
How to tell if dough is over kneaded?
Overkneaded dough becomes tough and dense, rather than soft and elastic. If your dough is difficult to shape, feels firm, and lacks elasticity, it may have been overworked. To avoid this, mix just until combined and handle gently when adding mix-ins like fruit or nuts.
“For a nostalgic treat, try this 1920’s recipe for chocolate cake and bake a slice of history right in your kitchen!“

